Determining if Your Dryer's Thermal Fuse is Blown
When your dryer fails to produce any heat, one of the most common culprits could be a blown thermal fuse. This vital component is designed to safeguard against overheating and potential fires by shutting down the appliance when it reaches dangerously high temperatures. However, a malfunctioning or damaged thermal fuse can lead to your dryer ceasing to function. So, how can you ascertain if your dryer's thermal fuse is indeed blown? In this comprehensive article, we will delve into the signs and symptoms that point to a blown thermal fuse, and we will also outline the steps you can take to rectify the issue and prevent its recurrence. Continue reading to acquire a deep understanding of these crucial aspects.
Signs Indicating a Blown Thermal Fuse
1. Absence of Heat Generation:
The primary function of the thermal fuse is to ensure your dryer doesn't catch fire or overheat. If it's blown, your dryer will fail to produce any heat, as it acts as a safety mechanism to prevent these hazardous situations.
2. Sudden Cessation of Dryer Operation:
A blown thermal fuse can abruptly halt your dryer's operation. It achieves this by cutting off power to the dryer's motor when it blows, effectively rendering the appliance inoperative.
3. Drum Not Rotating:
In certain dryers, a blown thermal fuse can cause the drum to stop rotating. This happens because the fuse is connected to the motor responsible for drum rotation, and its failure disrupts this crucial function.
4. Unusual Noises:
When the thermal fuse is blown, the dryer may emit unusual noises as it attempts to operate with a malfunctioning component. These noises can be indicative of the underlying issue.
Steps for Repairing a Blown Thermal Fuse
If you suspect that your thermal fuse has blown, you can follow these troubleshooting and testing steps:
1. Check the Power Supply:
Verify that your dryer is receiving power by ensuring it is properly plugged in and that the circuit breaker is set to the "On" position.
2. Inspect for Obstructions:
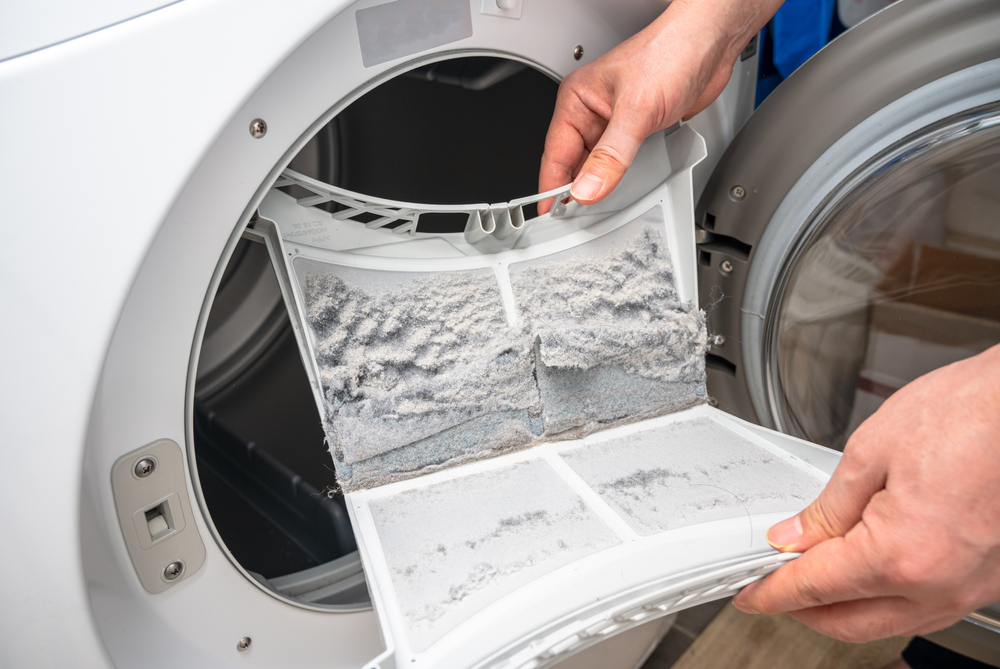
Remove any obstructions from the vent system, such as lint buildup, which can impede airflow and contribute to overheating.
3. Examine for a Thermal Cutoff Switch:
Some dryers incorporate a thermal cutoff switch in addition to the thermal fuse. Use a multimeter to test this switch for temperature and continuity. If there's no continuity, replace the switch.
4. Test the Thermal Fuse:
Unplug the dryer and locate the thermal fuse. Employ a multimeter to measure its temperature and continuity by placing the probes on both ends of the thermal fuse. If there is no continuity, the fuse has blown.
5. Replace the Thermal Fuse:
Replace the blown fuse with a new one, ensuring it's the correct fuse for your dryer model.
6. Test Your Dryer:
Plug the dryer back in and test it. If the dryer still refuses to start or produce heat, there may be other issues at play, such as a faulty heating element or a malfunctioning thermostat.
Steps for Replacing a Blown Thermal Fuse
If you decide to replace the thermal fuse instead of attempting a repair, follow these straightforward steps:
1. Remove the Rear Panel:
Unplug your dryer and locate the rear panel. Remove the screws securing the panel and carefully take it off.
2. Extract the Thermal Fuse:
Find the thermal fuse on the dryer's heating element housing. Remove its wires by either pulling the connectors or using a screwdriver. Then, use a wrench or pliers to extract the thermal fuse.
3. Install the New Thermal Fuse:
When installing the new thermal fuse, ensure it occupies the same position as the old one. Secure it firmly by screwing it in place.
4. Reattach the Rear Panel:
Reconnect the rear panel by using the screws you removed earlier. Typically, the back panel is situated at the top of the exhaust duct and has two wires attached.
5. Plug the Dryer Back In:
Ensure the power cord is securely plugged in, and turn on the power supply.
6. Clean the Exhaust Duct:
Finally, clean out the exhaust duct to ensure proper ventilation and prevent future issues.
Other Potential Dryer Issues to Consider
If the thermal fuse isn't the root cause of the problem, it's worth checking for other dryer-related issues to accurately diagnose the problem and protect your dryer's components from further harm. These issues may include:
1. Heating Element: A malfunctioning heating element can result in no heat production in the dryer.
2. Lint Trap: A clogged lint trap can obstruct airflow, leading to overheating and potential fire hazards.
3. Problematic Start Switch: If the start switch is faulty, the dryer may not initiate the drying cycle.
4. Clogged Exhaust Tube: An obstructed exhaust tube can impede proper ventilation, causing the dryer to overheat.
5. Broken Drive Motor: A broken drive motor can prevent the drum from rotating and affect the dryer's overall operation.
Knowing When to Seek Appliance Repair Services
Recognizing when it's time to call for professional appliance repair services is crucial for ensuring the longevity and optimal performance of your home appliances. While identifying signs of appliance malfunctions and addressing simple issues on your own can be beneficial, more complex problems may require the expertise of a qualified technician. Regular maintenance and prompt repairs can extend the lifespan of your appliances and ultimately save you money in the long run. Don't hesitate to seek assistance when needed and take proactive measures to keep your appliances in top-notch condition. With proper care, you can enjoy the full benefits of your appliances for many years to come.