How to Change Water Filters: A Step-by-Step Guide
Regularly changing water filters is essential to maintain the efficiency of your appliances and ensure you continue consuming clean, healthy water. In this blog, we’ll walk you through the step-by-step process of replacing water filters.
How to Change Water Filters: A Step-by-Step Guide
Clean water is essential for daily use, whether it's for drinking, cooking, or cleaning. Modern appliances, particularly refrigerators with built-in water dispensers, often come with water filters to ensure that the water you're consuming is free from impurities. However, over time, these filters can become clogged or less effective, which is why regular replacement is crucial. In this blog, we'll cover everything you need to know about changing water filters for various appliances, focusing particularly on refrigerators. Let's dive into the step-by-step process, the importance of replacing filters, and how to choose the right filter for your needs.
Why Is It Important to Change Water Filters?
Water filters are designed to trap contaminants, chemicals, and particles that may be present in your water supply. Over time, these filters can become saturated and clogged with debris, making them less effective at purifying the water. Here are some reasons why regularly replacing water filters is important:
- Maintain Water Quality
- Prolong Appliance Lifespan
- Health Benefits
- Prevent Damage
Maintain Water Quality: A dirty or old filter can no longer effectively remove impurities, leading to poor-tasting and potentially unsafe water.
Prolong Appliance Lifespan: Appliances like refrigerators and water dispensers rely on clean water to function efficiently. A clogged filter can reduce water flow and put additional strain on your appliance.
Health Benefits: Replacing the water filter ensures that you're consuming clean, contaminant-free water, reducing the risk of health issues.
Prevent Damage: Neglecting to change the water filter can lead to buildup inside the appliance, which may eventually cause damage and require costly repairs.
When Should You Replace Your Water Filter?
The frequency of water filter replacement can vary depending on the manufacturer and the type of appliance. However, a general rule of thumb is to replace the filter every 6 months or after filtering 200-300 gallons of water, whichever comes first. Some modern appliances have indicator lights that notify you when it's time for a change. Additionally, if you notice a decline in water pressure, a change in water taste, or strange odors, it's likely time to replace the filter.
How to Change Water Filters in a Refrigerator?
Changing the water filter in your refrigerator might seem like a daunting task, but it's quite simple with the right instructions. Follow this step-by-step guide to ensure a successful replacement.
- Identify the Type of Filter
- Turn Off the Water Supply
- Remove the Old Filter
- Insert the New Filter
- Turn the Water Supply Back On
- Flush the Filter
Step 1: Identify the Type of Filter
Before you start, you'll need to determine the type of water filter your refrigerator uses. There are two main types of refrigerator water filters:
Push-in filters: These are usually located in the grille at the bottom or inside the refrigerator compartment.
Twist-in filters: These are typically found in the upper right-hand corner of the refrigerator or behind a cover.
Check your refrigerator's user manual or the manufacturer's website to confirm the type of filter you need.
Step 2: Turn Off the Water Supply
For safety and to avoid any potential water spills, turn off the water supply to your refrigerator. This step ensures that no water will flow while you're replacing the filter.
Step 3: Remove the Old Filter
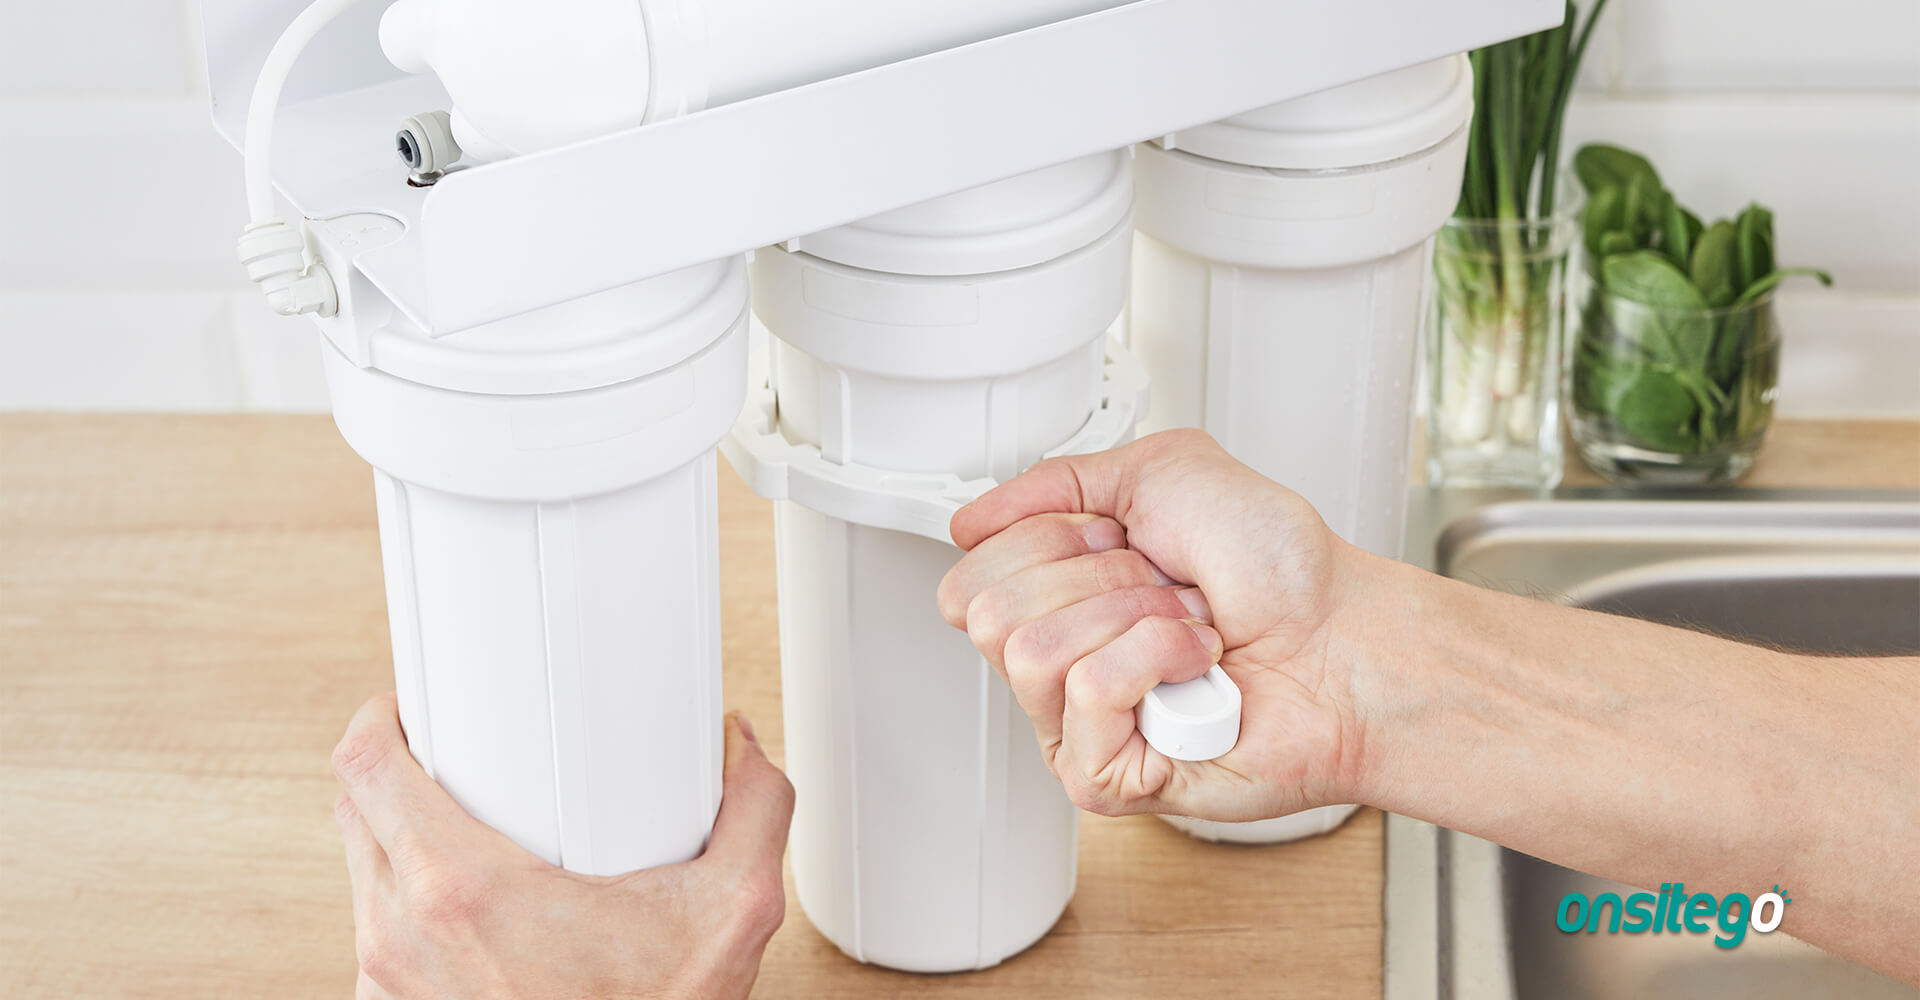
For push-in filters, press the "eject" button (if present) or simply pull the filter out from its compartment. For twist-in filters, turn the filter counterclockwise until it detaches, and then gently pull it out.
Step 4: Insert the New Filter
Take the new filter and remove any protective caps or coverings. Insert the filter into the compartment:
- For push-in filters, align the filter with the housing and push it until it locks into place.
- For twist-in filters, insert the filter into the housing and turn it clockwise until it locks.
Step 5: Turn the Water Supply Back On
Once the new filter is securely in place, turn the water supply back on. This will allow water to flow through the new filter.
Step 6: Flush the Filter
After installing a new filter, it's important to flush out any air or loose carbon particles. Run about 1-2 gallons of water through the dispenser (or according to the manufacturer's instructions) to ensure the water is clear and free of any debris. This step is crucial for ensuring that your water is clean and tastes fresh.
How to Choose the Right Water Filter for Your Appliance?
When it's time to replace your water filter, you'll need to select the right one for your specific appliance. Here are a few tips for making sure you pick the right filter:
- Check the Model Number
- Look for Compatibility
- Filter Certifications
- Consider Aftermarket Filters
Check the Model Number: The easiest way to find the right replacement filter is to use the model number of your appliance. This information is typically available in the user manual or on a label inside the refrigerator.
Look for Compatibility: Make sure the filter you choose is compatible with your appliance's brand and model. Some filters are universal, but it's always safer to use the one recommended by the manufacturer.
Filter Certifications: Look for filters that have been certified by organizations like NSF International. These certifications ensure that the filter meets specific standards for removing contaminants like lead, chlorine, and pesticides.
Consider Aftermarket Filters: While it's always best to use the manufacturer's recommended filter, some high-quality aftermarket filters are available at a lower cost. Just make sure they meet the same certification standards.
Water Filter Maintenance Tips
To get the most out of your water filter and ensure it works effectively, follow these maintenance tips:
- Regular Replacement
- Proper Disposal
- Monitor Water Quality
Regular Replacement: Stick to the 6-month replacement rule to avoid any water contamination issues.
Proper Disposal: Used water filters may contain harmful contaminants, so be sure to dispose of them properly. Check if your municipality has any specific guidelines for recycling or disposing of old filters.
Monitor Water Quality: If you notice changes in the taste, smell, or clarity of your water, don't wait for the 6-month mark—replace the filter sooner.
Common Mistakes to Avoid When Changing Water Filters
While replacing a water filter is generally a straightforward task, there are a few common mistakes that can lead to issues:
- Not Turning Off the Water Supply
- Using the Wrong Filter
- Forgetting to Flush the Filter
Not Turning Off the Water Supply: Failing to turn off the water supply can result in leaks or water damage.
Using the Wrong Filter: Always double-check that you're using the correct filter for your appliance. Using the wrong one can reduce filtration effectiveness.
Forgetting to Flush the Filter: Skipping the flushing step can leave air pockets or carbon dust in your water, affecting taste and quality.
Regularly changing your water filter is an essential part of maintaining your appliances and ensuring that you have access to clean, safe water. With this guide, you now know how to replace water filters in your refrigerator and what to consider when choosing the right filter. By following these steps, you can prolong the life of your appliances and enjoy the benefits of fresh, purified water every day.
Don't wait until your water tastes off or your appliance starts to malfunction—mark your calendar for regular filter changes and keep your water clean and fresh!


